A solar garden light makes a small, appealing promise: no cables, no electrician, no switch to remember. Most of the disappointment people feel about them comes down to two things — a fixture asked to do more than it can, and a panel placed where the sun never really reaches it. Get those right and what remains is layout, which is the pleasant part.
The realistic goal is not a garden that looks floodlit. It is a path you can walk after dinner without guessing where the edge is, borders that glow softly rather than glare, and a set of lights that still works in October.
Start With Lumens, Not Wattage
Packaging loves numbers that sound impressive: watts, LED counts, "super bright". Lumens are the figure that tells you how much light actually leaves the fixture, and lumen counts for garden solar lights are usually modest. That is not a flaw. A dark garden needs far less light than people expect, and an overbright fixture at knee height produces glare rather than guidance.
As a working guide, marker lights of roughly 5 to 20 lumens are enough to suggest the edge of a border. Path lights in the 20 to 60 lumen range let you see the surface you are walking on. Steps, a driveway entrance or a door approach benefit from something nearer 60 to 150 lumens, mounted so the light falls on the ground rather than into your eyes.
Two other specifications matter as much as brightness. Beam angle decides whether light is concentrated in a pool or spread into a wash; a narrow beam at low output can mark a step better than a wide beam at high output. Colour temperature decides how it feels: warm white around 2700–3000K reads as cosy and blends with interior light spilling from windows, while cool white near 6000K looks brighter for the same output but often feels clinical against planting.
Remember that light falls off quickly with distance. Double the height of a fixture above the ground and you spread the same output over four times the area, so a bright-looking light on a tall spike can leave the path surprisingly dim.
The Panel Decides Everything
Every solar light is a small system: panel, battery, controller, LED. The LED and the battery get all the attention, but the panel's exposure sets the ceiling on what the fixture can do. A panel in genuine sun for a few hours will outperform one sitting in bright-looking shade all day, because shade and reflected light deliver only a fraction of what direct sun does.
Map the sun before you map the lights
Spend a week noticing where sun actually lands in your garden, and at what hours. A spot that is sunny at noon in June may be in deep shade by September. Panels on the fixture itself sit low, which makes them easy victims of shrubs, fence shadows and the fixture's own cap. Look for models with an adjustable or tilting head, or better, a separate panel on a short cable that you can stake out in the open while the light stays where you need it.
Face the panel toward the equator — south in the northern hemisphere, north in the southern — and tilt it upward rather than leaving it flat, which helps in low winter light. Then check for trouble at dusk: some solar lights have dusk sensors that keep them switched off if they see a porch light, a streetlamp or a security floodlight nearby. A fixture that refuses to come on may be reacting to a light source you have stopped noticing.
Choose the Fixture for the Job
Solar garden lighting is not one product. Each type solves a different problem, and mixing them deliberately gives a better result than buying twelve of the same thing.
- Stake lights — the workhorse for path edges and low borders. Choose metal or well-sealed housings and check the spike is long enough to stay upright in soft soil.
- Bollards — taller, more architectural, good along a terrace edge or a straight walk. Heavy enough not to move, and less likely to be swallowed by plants.
- Wall and fence lights — useful where there is no soil, and effective at washing light downward across paving. Mount them above eye level to avoid glare.
- Spotlights — for grazing a trunk, a wall or a large shrub. Aim them away from seating and from neighbouring windows.
- String lights — decorative rather than functional. Lovely in a pergola, but do not rely on them to show you a step.
Whatever the type, look for a rating of at least IP44, and IP65 or better for anything fully exposed to rain and sprinklers. Check that the battery is user-replaceable — this single detail decides whether the fixture lasts two years or eight.
Laying Out Paths and Borders
Stand at the point where you will walk, at night, and look at the ground. That is the view the lighting has to serve. Path markers generally sit 40–60cm above the soil and are spaced so their pools just meet or leave a small, deliberate gap, which usually works out at roughly one and a half to two metres on a narrow path and a little more on a wide one. The exact distance matters less than consistency — a rhythm reads as designed, random spacing reads as accidental.
Avoid the runway look. Placing lights alternately on either side of a path, or on one side only, is calmer than a symmetrical row. Angle each head slightly toward the walking surface and away from the house, so you see the path and not the lamp. If a fixture has a shield or louvre, use it.
Borders and features
In planting, hide the source and show the effect. A stake tucked behind a clump of grasses sends light up through the leaves; a spotlight set 30–60cm out from a tree trunk grazes the bark and makes the tree look taller. Wash a wall from below rather than from above. Keep fixtures clear of irrigation heads and the mower's path, and note their positions — a stake that vanishes under perennials in July will be found by the mower in September.
Finally, look at the garden from inside the house. The view from the kitchen window at night is the one you will see most often, and a layout that reads well from there is usually a layout that reads well from everywhere.
Batteries, Cold Weather and Honest Expectations
Solar lights live or die by their battery. Nickel-metal hydride cells are common and cheap; lithium cells cost more but hold up better in cold and hold their charge longer. Either way, expect performance to drop in winter. Short days mean less charging, so a fixture that runs eight hours in June may manage three or four in December. That is normal behaviour, not a fault, and it is worth planning a brighter, mains-powered light for the one or two places — a step, a back door — where darkness would actually be a problem.
Keeping Them Working Through the Year
Solar garden lighting needs very little, but it does need something. Wipe the panels every few weeks; dust, pollen and bird droppings cut output quietly and steadily. Trim growth that has crept over a panel, and clear leaves from anything sitting on the ground. Replace batteries every year or two, and clean the small sensor window so the light still knows when it is dark. If a fixture stops working, check the switch and the battery contacts before assuming it has failed.
A Simple Plan for a First Layout
If you are starting from nothing, resist buying the whole scheme at once.
- Walk the garden at dusk and note where you actually need to see — steps, level changes, the route to the bin, the corner where the path turns.
- Track the sun for a week and mark the reliably sunny spots with canes before you commit to positions.
- Buy two or three fixtures of one type and live with them for a week. A single evening is not enough to judge charging and runtime.
- Set the path markers first, then light the borders and features that you look at most.
- Leave room to move things. Revisit the layout when the seasons change and the shade pattern shifts.
Done this way, solar lighting stops being a gamble on a garden-centre box and becomes what it should be: a quiet, cable-free layer that lets you use the garden after dark. Buy a little at a time, place the panels where the sun genuinely falls, and let the planting grow into the light rather than the other way around.
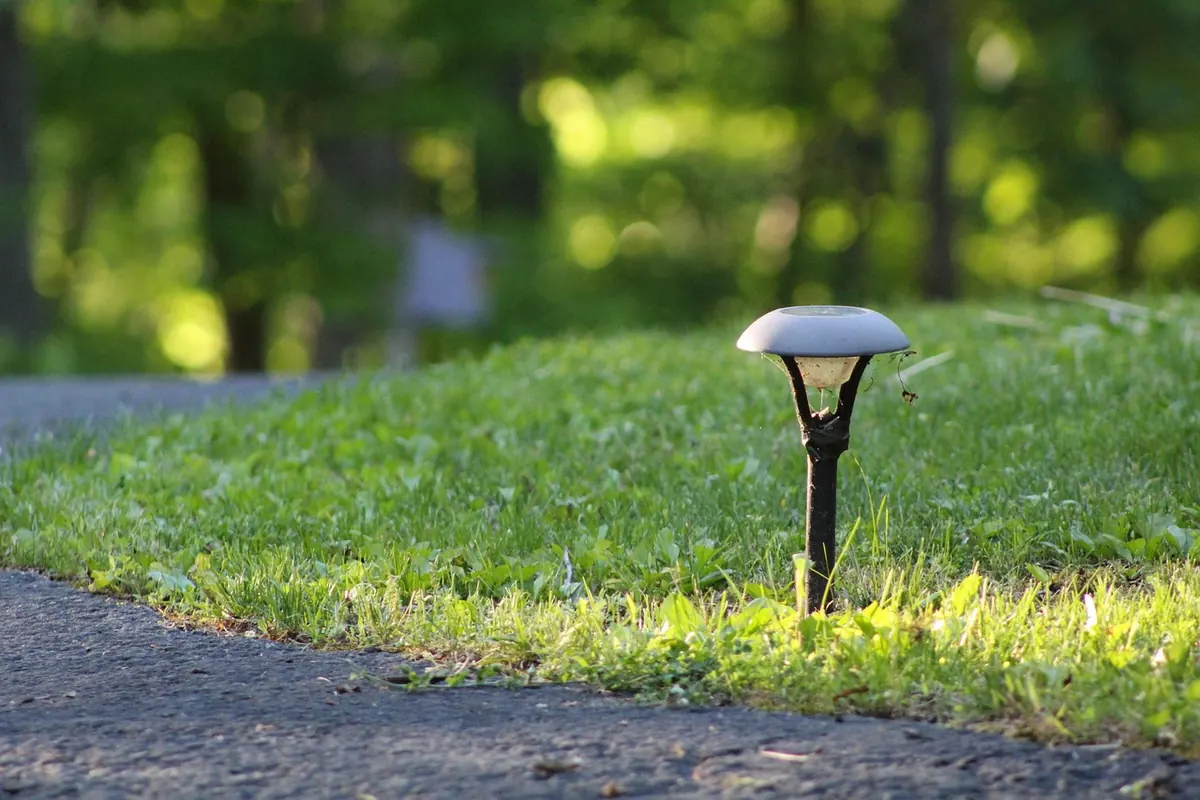
Photo: Luke43 / Pixabay